DIY Winter Paw Balm Recipe: Protect Your Dog’s Paws From Salt and Snow
Winter weather can be brutal on your furry friend’s paws. Ice, snow, road salt, and freezing temperatures create a perfect storm of irritation that can leave your dog’s paw pads cracked, dry, and painful. While there are plenty of commercial paw balms available, creating your own DIY winter paw balm is not only cost-effective but also ensures you know exactly what ingredients are touching your beloved pet’s sensitive paws. This homemade solution provides superior protection against harsh winter elements while nourishing and healing damaged skin.
Why Your Dog Needs Winter Paw Protection
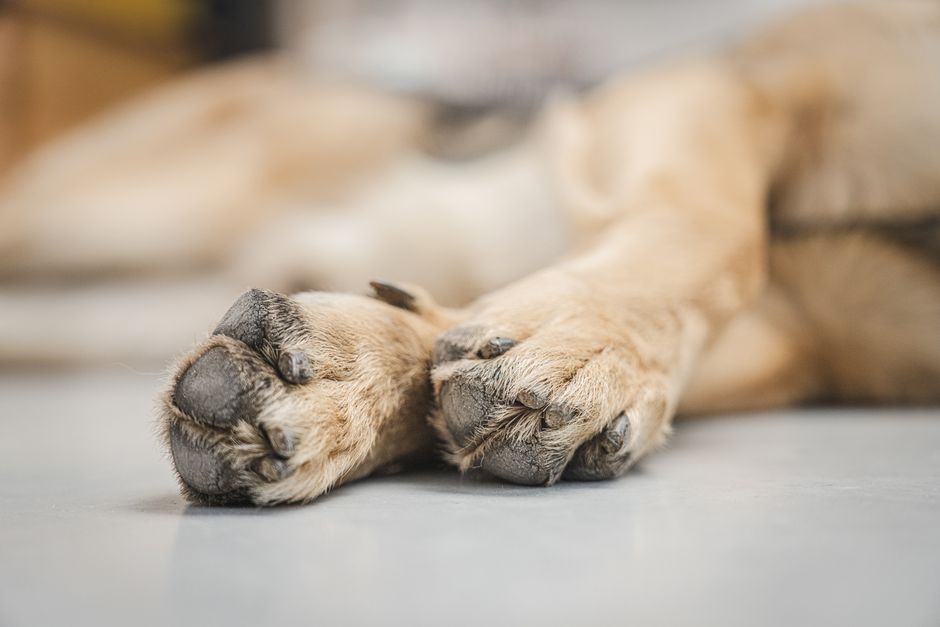
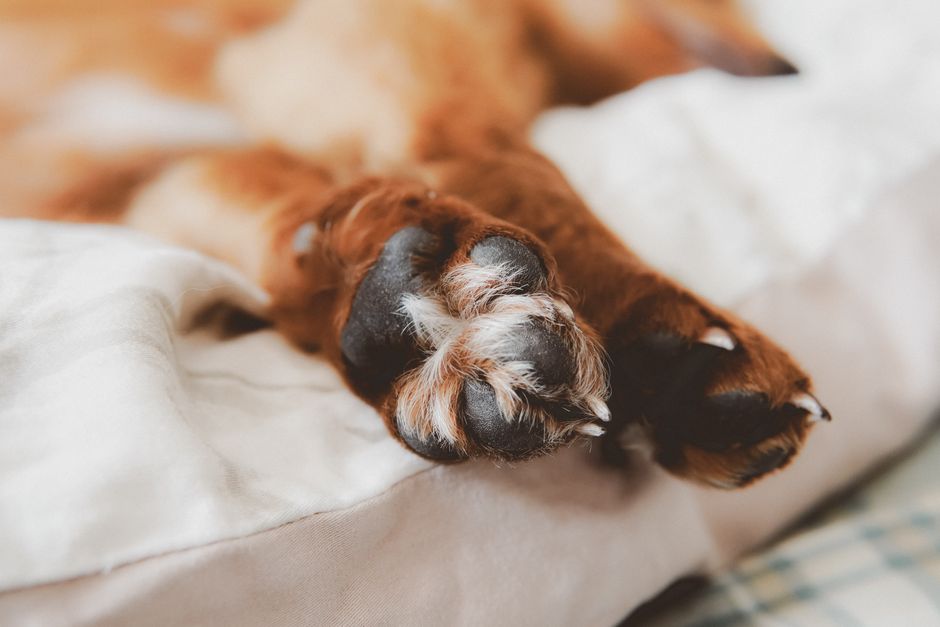
Dog paws are remarkably resilient, but they’re not invincible against winter’s harsh conditions. The combination of salt, snow, and freezing temperatures creates multiple challenges for your pet’s paw health. Road salt and de-icing chemicals are particularly problematic, as they can cause chemical burns and severe irritation. Snow and ice can lodge between toes, creating painful ice balls, while cold surfaces can lead to frostbite in extreme conditions.
Your dog’s natural paw pads contain fatty acids that help maintain moisture and flexibility. However, winter conditions strip away these protective oils, leaving paws vulnerable to cracking and splitting. A quality winter paw balm creates a protective barrier while replenishing lost moisture, keeping your dog comfortable during cold-weather walks.
Essential Ingredients for Homemade Winter Paw Balm
The beauty of making your own winter paw balm lies in selecting safe, natural ingredients that provide maximum protection. Here are the key components you’ll need:
Base Ingredients
Coconut Oil (2 tablespoons): This miracle ingredient offers natural antibacterial and antifungal properties while providing deep moisturization. Coconut oil remains solid at room temperature but melts easily when applied, making it perfect for paw balm consistency.
Shea Butter (2 tablespoons): Rich in vitamins A and E, shea butter provides excellent moisturizing properties and helps heal cracked skin. It’s gentle enough for sensitive paws yet effective at creating a protective barrier.
Beeswax (1 tablespoon): This natural wax gives your paw balm structure while creating a waterproof barrier that protects against snow and salt. Beeswax also has natural antibacterial properties.
Healing Additives
Vitamin E Oil (1/2 teaspoon): Acts as a natural preservative while providing antioxidant benefits that promote healing and skin repair.
Olive Oil (1 teaspoon): Adds extra moisturization and helps create a smooth, spreadable consistency.
Step-by-Step DIY Winter Paw Balm Recipe
Creating your homemade paw balm is surprisingly simple and requires no special equipment beyond basic kitchen tools.
Materials Needed
- Double boiler or microwave-safe bowl
- Small storage containers (lip balm tubes or small tins work perfectly)
- Measuring spoons
- Stirring utensil
Instructions
Step 1: Measure all ingredients carefully. Proper ratios ensure the right consistency – too much oil creates a runny balm, while too much wax makes it difficult to apply.
Step 2: Melt the beeswax first using a double boiler or microwave in 30-second intervals. Beeswax has the highest melting point, so starting here prevents overheating other ingredients.
Step 3: Add coconut oil and shea butter to the melted beeswax, stirring until completely combined. The mixture should be smooth and homogeneous.
Step 4: Remove from heat and let cool slightly before adding vitamin E oil and olive oil. These heat-sensitive ingredients maintain their beneficial properties when added at lower temperatures.
Step 5: Pour the mixture into your chosen containers while still liquid. Work quickly, as the balm will begin solidifying as it cools.
Step 6: Allow to cool completely at room temperature before using. The balm will be ready in about 30 minutes.
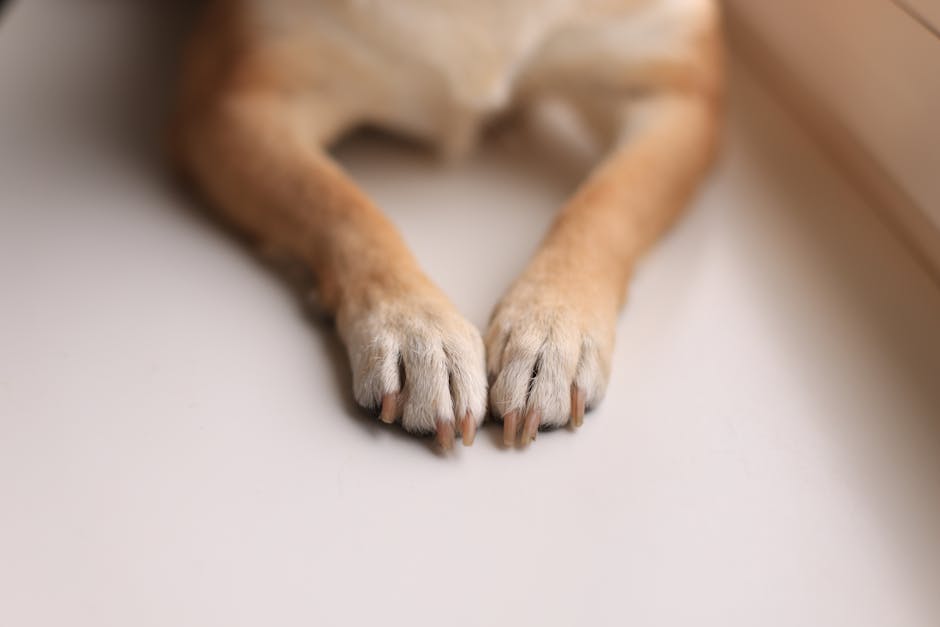
Application Tips for Maximum Protection
Proper application of your DIY winter paw balm is crucial for effectiveness. Clean your dog’s paws thoroughly before application, removing any salt residue, ice, or debris. Gently massage a small amount of balm into each paw pad, paying special attention to cracked or dry areas.
For best results, apply the balm 15-20 minutes before heading outdoors. This allows the ingredients to absorb properly while still maintaining a protective surface layer. After winter walks, clean your dog’s paws with warm water and reapply balm if necessary.
Storage and Safety Considerations
Your homemade winter paw balm will remain fresh for up to six months when stored in a cool, dry place. The vitamin E oil acts as a natural preservative, but avoid exposing the balm to excessive heat or moisture.
Always test a small amount on one paw pad first to ensure your dog doesn’t have any adverse reactions. While all ingredients in this recipe are dog-safe, individual sensitivities can occur. If you notice any redness, swelling, or irritation, discontinue use and consult your veterinarian.
Additional Winter Paw Care Tips
While your DIY paw balm provides excellent protection, combine it with these additional winter care strategies:
- Trim hair between toes to prevent ice ball formation
- Consider dog boots for extended outdoor activities
- Rinse paws with warm water after walks to remove salt and chemicals
- Keep walks shorter during extreme cold snaps
- Check paws daily for signs of damage or irritation
Conclusion
Protecting your dog’s paws during winter doesn’t require expensive commercial products or complicated routines. This simple DIY winter paw balm recipe provides professional-grade protection using natural, safe ingredients you can trust. By taking proactive steps to shield your dog’s paws from salt and snow damage, you’re ensuring comfortable, pain-free winter adventures for your four-legged companion. Remember that consistency is key – regular application of your homemade paw balm will keep your dog’s paws healthy, moisturized, and ready for whatever winter weather brings your way.